Draining a geyser is an essential maintenance task that helps remove sediment, improve heating efficiency, and extend the lifespan of the unit. Over time, minerals and debris can accumulate at the bottom of the tank, leading to noise, slower heating, and unnecessary strain on the system. Draining the tank clears these buildups, ensuring your geyser runs smoothly and efficiently. With basic tools and a calm, safe approach, this task can be done easily at home.
Preparing the Geyser for Draining
Before starting, it’s important to turn off the geyser to avoid damage or burns. For electric geysers, switch off the power at the main distribution board to prevent the heating element from operating while the tank is empty. If your geyser is connected to a solar or gas system, make sure the heat source is completely turned off. Allow the water inside the tank to cool down for safety. Once the temperature has dropped, turn off the cold water supply to the geyser to prevent new water from entering while you work.
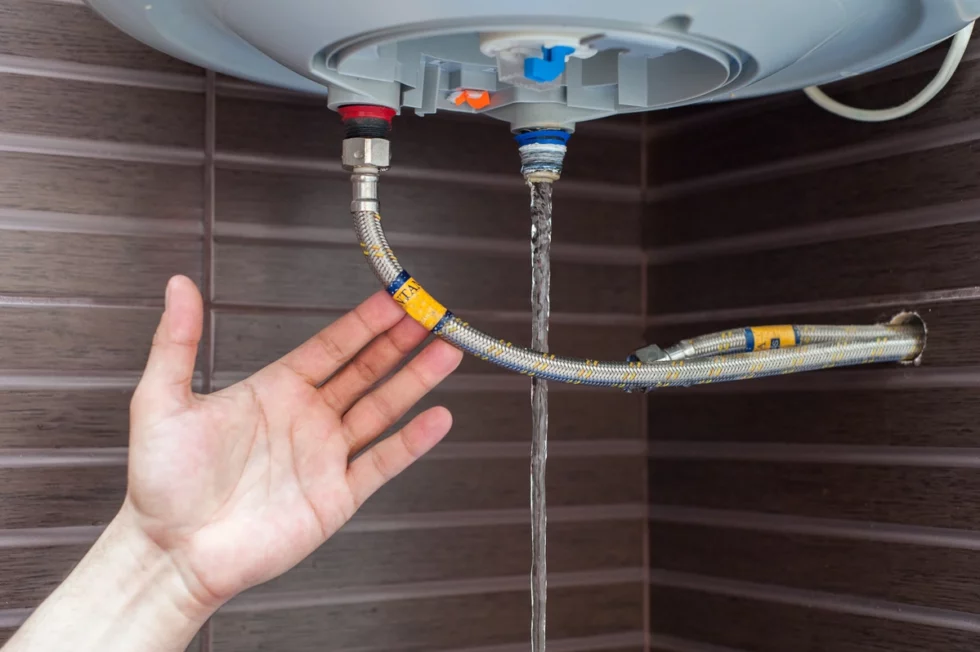
Locating the Drain Valve and Attaching a Hose
Most geysers have a drain valve located near the bottom of the tank. This valve allows the water to exit when opened. A standard garden hose usually fits securely onto the drain valve and directs the water away from floors and walls. Position the hose to run outside or into a floor drain to prevent flooding. Make sure the hose is tightly attached to avoid leaks. Once the hose is properly connected and positioned, the geyser is ready for draining.
Opening the Drain Valve and Releasing the Water
To begin the draining process, first open a hot water tap inside the house. This allows air to enter the system, reducing pressure and helping the water flow more smoothly. Slowly open the drain valve to let the water flow out. If the tank has not been drained in a while, you may notice visible sediment or discolored water as it flows through the hose. Allow the tank to drain completely to ensure that all loose particles are removed. If the water flow slows down too much, gently tap the tank or adjust the hose’s angle to help release trapped debris.
Flushing the Tank for Better Cleaning
After the tank has fully drained, flushing it will enhance the cleaning process. Briefly turn the cold water supply back on to push fresh water through the tank, forcing any remaining sediment out through the hose. Let the water run until it appears clear, ensuring a thorough cleaning. Once you are satisfied with the flush, turn off the cold water supply and close the drain valve securely to prevent leaks or drips when the geyser refills.
Refilling the Geyser and Restoring Power
After closing the drain valve and removing the hose, turn on the cold water supply to refill the tank. Leave a hot tap open inside the house while the tank fills. This allows any air trapped inside to escape and prevents pressure issues. When the water flows steadily from the tap, you can close it. Once the tank is full, restore the electricity or heat source to bring the geyser back into normal operation. The unit will now operate more efficiently, and the water often feels cleaner and fresher. Regularly draining the tank every few months helps maintain performance and prevents long-term damage.


